Losing a tooth can feel like a scene from a horror movie, but fear not! A dental flipper can save the day without breaking the bank. Why spend a fortune at the dentist when you can channel your inner DIY enthusiast? Making a dental flipper at home is not only budget-friendly but also a fun project that’ll keep your hands busy and your smile bright.
Understanding Dental Flippers
Dental flippers serve as temporary solutions for missing teeth. They consist of a removable partial denture that fills gaps. Designed for comfort, these devices often use acrylic material. Besides aesthetic benefits, dental flippers also assist in speech and chewing.
Users find dental flippers particularly convenient. Unlike permanent dental solutions, flippers can be easily inserted and removed. Patients with temporary dental needs commonly turn to this option. Cost-effective approaches often lead individuals to create these devices at home.
Making a dental flipper involves some understanding of dental materials. Acrylic is typically used for the base, while artificial teeth imitate natural ones. Crafting a flipper at home can save money compared to professional services. Home-made versions should fit securely and feel comfortable during use.
Individuals considering a dental flipper should keep durability in mind. Materials must withstand daily wear and tear. Regular maintenance, like cleaning, plays a crucial role in longevity. Flippers require careful handling to maintain their shape and function.
Gathering the right supplies simplifies the making process. Key items include dental acrylic, molds, and artificial teeth. Following precise steps ensures the final product meets user needs perfectly.
Dental flippers function effectively as a temporary measure until permanent solutions like implants or bridges become available. Understanding their purpose enhances the user’s experience and satisfaction.
Materials Needed
Creating a dental flipper at home requires specific tools and materials. Gather these essential items before starting the process.
Essential Tools
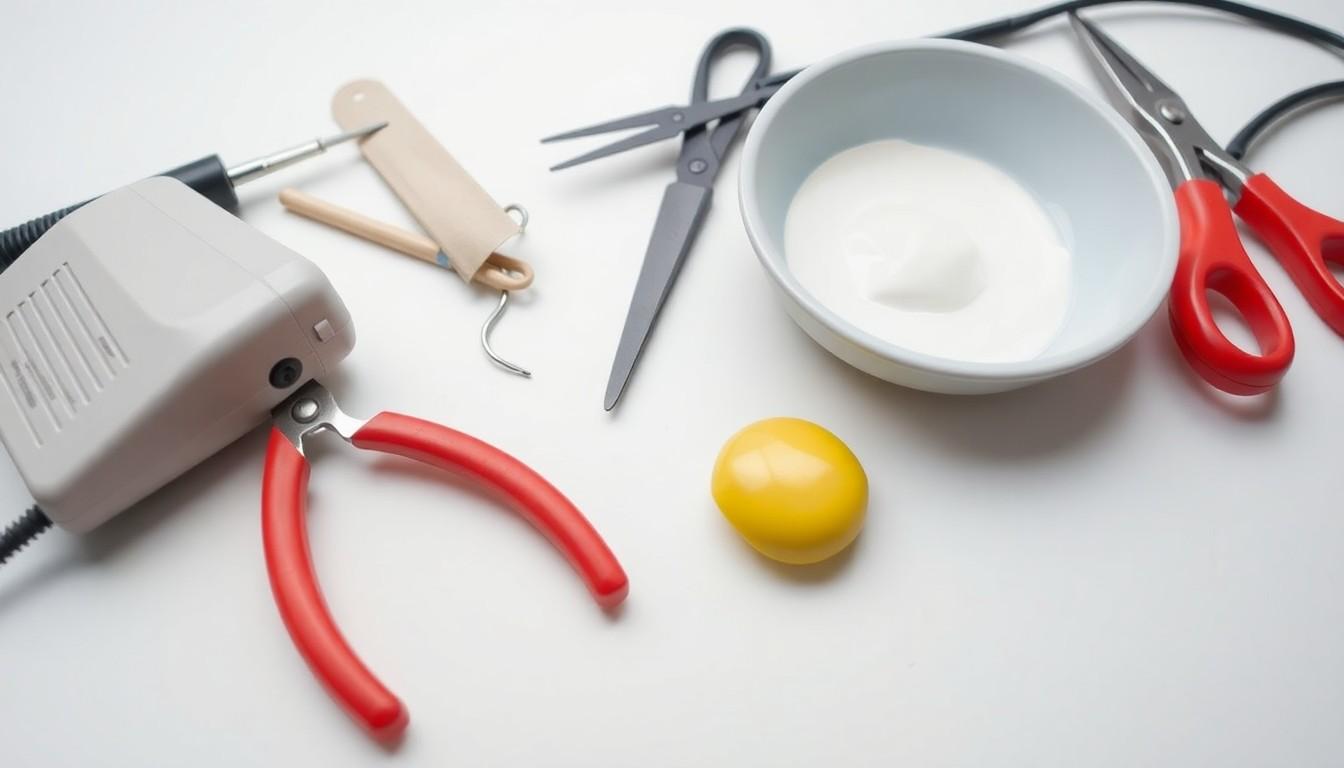
A few key tools help streamline the creation of a dental flipper. First, a heat source like a dental heater or hot water is necessary for softening acrylic. Next, pliers assist with bending and shaping the framework. Scissors serve to trim the acrylic to the desired size, while a spatula spreads the material evenly. Finally, a mixing bowl facilitates the preparation of the dental acrylic before application.
Required Materials
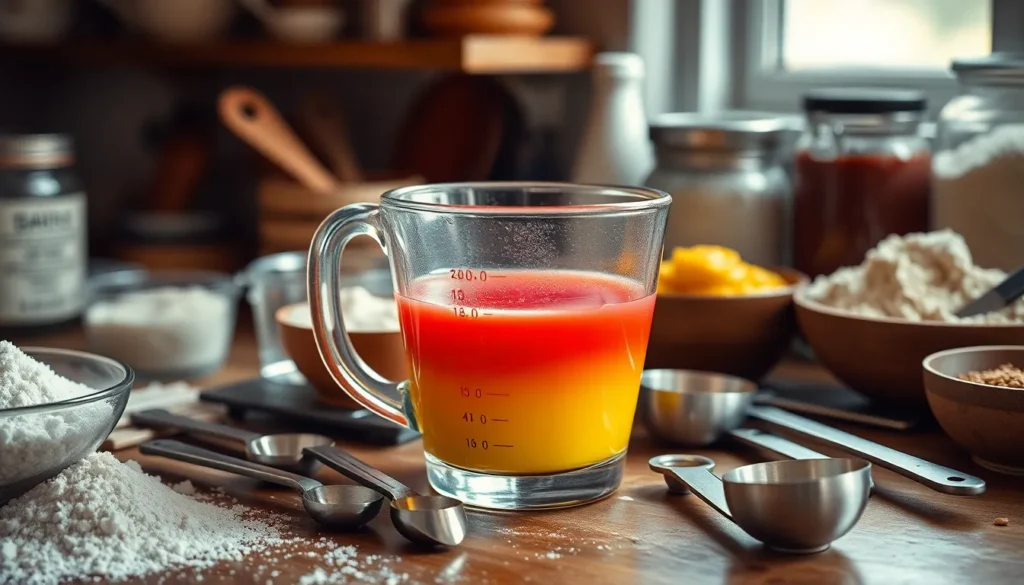
Several materials are essential for crafting a dental flipper. Dental acrylic, often used for creating the base, provides durability and comfort. Artificial teeth, available in various sizes and colors, ensure a natural appearance. Molds, like dental impression trays, capture the shape of gums accurately. Additionally, adhesive can help secure artificial teeth to the acrylic base. Finally, polishing compounds enhance the flipper’s appearance, giving it a smooth finish.
Step-by-Step Guide
Crafting a dental flipper at home involves several precise steps. Individuals can follow these instructions to achieve a functional and comfortable device.
Preparing the Mold
Selecting an accurate mold is critical for creating a proper fit. Use dental impression material to take an impression of gums. Mixing the material according to package instructions ensures the right consistency. Filling the impression tray completely captures the gum shape. Placing the tray in the mouth for a few minutes allows the material to set. After removing the tray, inspect the mold for any imperfections. Cleaning the mold with water helps maintain its integrity for further use.
Creating the Flipper
Starting with dental acrylic, heat it according to manufacturer’s guidelines. Softening the acrylic makes it easier to shape and mold. Applying the softened acrylic to the prepared mold fills the gaps left by missing teeth. Artificial teeth should be positioned accurately within the acrylic. Utilizing the spatula, press down to create an even surface and secure the teeth in place. Allow time for the acrylic to harden completely before removing it from the mold. Trimming excess acrylic with scissors helps achieve a polished final product. Finishing with polishing compounds gives the flipper a smooth, natural appearance.
Tips for Success
Creating a dental flipper at home can be straightforward with the right approach. Following a few tips can enhance the success of this DIY project.
Common Mistakes to Avoid
Users often overlook precise measurements when crafting a flipper. Failing to achieve an accurate mold can lead to discomfort and an improper fit. Not prioritizing cleanliness during the mold preparation can introduce imperfections. Skipping the hardening process may cause the flipper to become brittle or misshapen. Individuals should mix the dental acrylic correctly; inconsistent mixtures impact durability. Lastly, neglecting the trimming and polishing steps may leave sharp edges that irritate the gums.
Maintenance and Care
Proper maintenance extends the life of a dental flipper. Cleaning the flipper daily prevents plaque buildup and maintains hygiene. Soaking it in mild soap or denture cleaner enhances cleanliness without damaging the material. Regular inspections help to identify any wear or damage early. Storing the flipper in a protective case prevents accidental damage or warping. Avoiding exposure to extreme temperatures ensures the acrylic maintains its shape and durability.
Creating a dental flipper at home can be a rewarding experience that combines creativity with practicality. It offers an affordable way to restore confidence in one’s smile while addressing temporary dental needs. By following the outlined steps and tips, individuals can craft a flipper that not only looks natural but also fits securely and comfortably.
Proper care and maintenance are crucial to ensure the flipper remains functional over time. With the right materials and attention to detail, a homemade dental flipper can serve as an effective stopgap until more permanent dental solutions are pursued. Embracing this DIY project empowers individuals to take control of their dental health and aesthetics.